

Hmmm ... what's up with the rubber bands?
Here is a quintessential "player's guitar" by all definitions. It is a 2001 SG that has been out gigging regularly and played hard for years. It has been in the shop for various repairs.
Let's start from the beginning ...
I first met guitarist Jonathon Feinberg of the Lynn/Boston's Tigerman WOAH at a show and was blown away by the band's songwriting and energy on stage. If you ever have a chance to see them, I highly recommend catching a show.
Here's an overview:
Output jack / control cavity repair
Previous headstock repair failing
Busted strap button
And then my headstock re-repair was failing ...
Pickup gets knocked the fuck out!
Go check out Tigerman WOAH!!!
1. Output jack / control cavity repair
This SG has been Jon's main guitar since he was a teenager and it's seen a lot of action. He brought his SG by the shop for the first time after it took a hard fall at a show and split the entire lower bout through the control cavity. He was frustrated with tuning issues and the guitar fell to the ground as a consequence. The entire wing was clinging by a hair and the wood around output jack completely blown out.

With the electronics removed, I was easily able to separate the broken wing from the rest of the body. This entire piece was only held in place by the pots and switch. Pulling this completely apart will make applying the glue much easier.
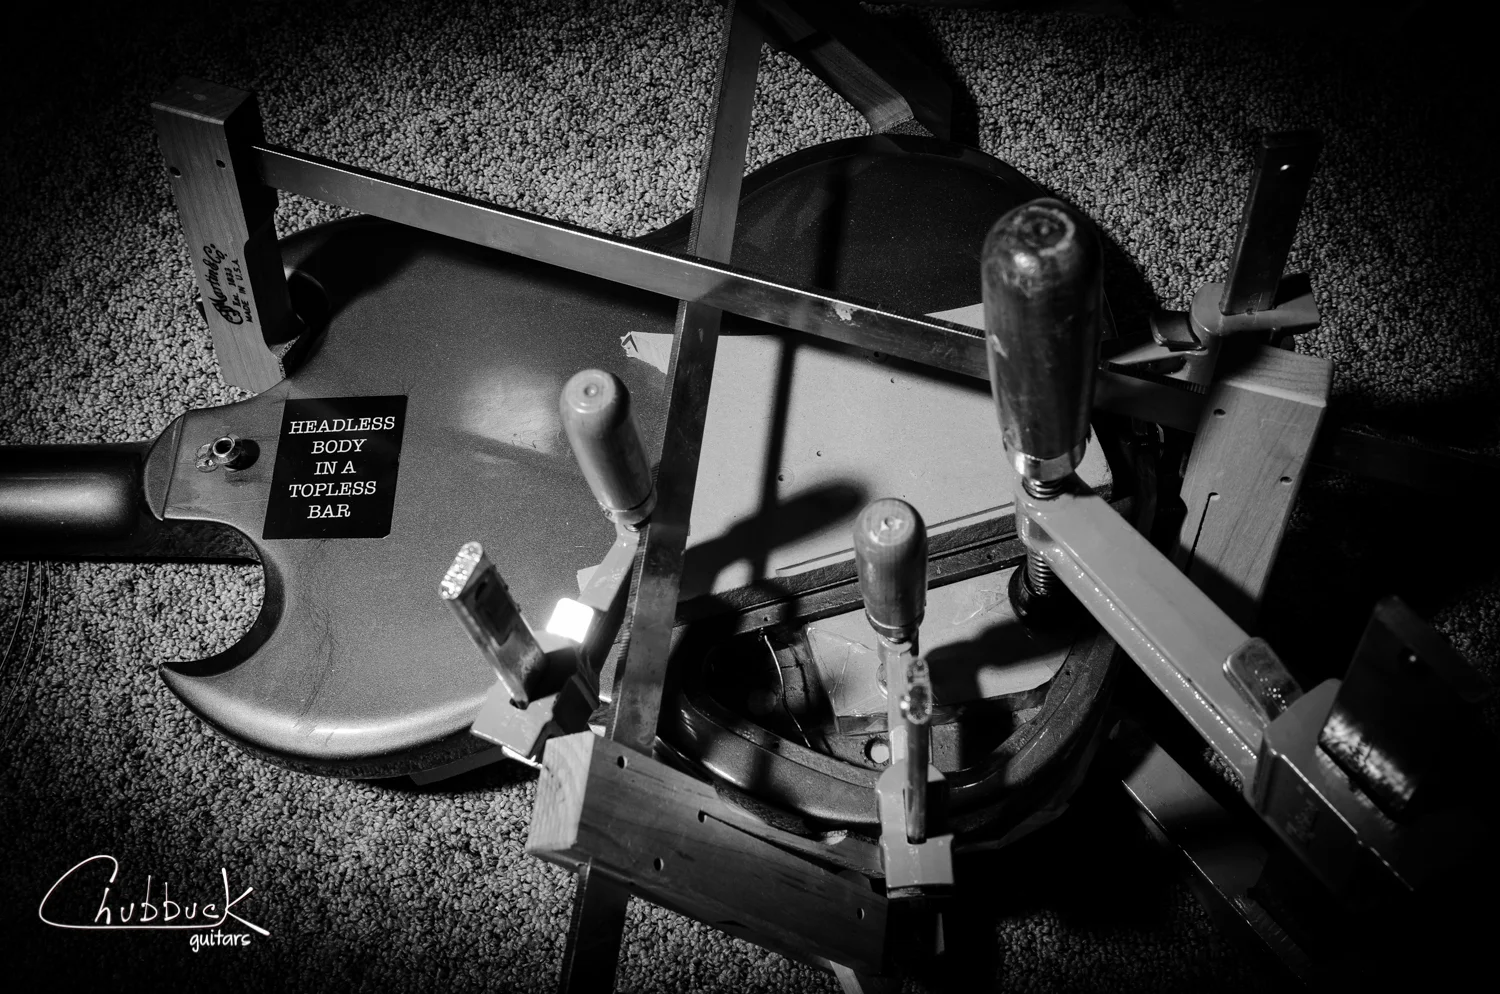
Here is the clamping setup. On the face of the guitar I have a large piece of MDF to keep the broken wing coplanar (flat) with the rest of the top. Inside the control cavity is another piece of MDF to align the break.
The first step was removing the electronics and gluing the broken wing. Various clamps and clamping cauls were used to keep everything aligned while the glue dried.

Since the output jack hole was totally blown out, I needed to come up with a solution to provide a secure mounting point. Here I'm laying out a custom control plate.
With the broken wing reattached, I needed a solution for the blown-out output jack hole. Initially I thought of plugging and redrilling it, but figured it wouldn't hold up for very long. I suggested that we go with a custom brass control plate to cover the damage and add significant strength to weakened output jack mount. To match the vibe of the guitar, I used a combination of bleach and muratic acid to patina the brass plate. Leaving the brass clean and shiny would have looked out of place. (note that working with acids and bases is very dangerous and should not be attempted without proper protective precautions - seriously, you have been warned! Pure nastiness.).

I decided to use a piece of brass for the control plate. It machines easily and also allowed me to patina the finish. I thought this well-played guitar would look odd with a bright shiny brass plate. I used alternating applications of muratic acid and bleach to get this result. *note these chemicals can be extremely dangerous to your health!!! Gloves, eye protection, respirator, adequate ventilation and common sense are a must.

Here's the finished broken control cavity repair. The brass plate helps reinforce the repair and provides and helps distribute any torque applied to the output jack. Note that the output jack is mounted directly to the brass plate and is independent of the guitar. The output jack hole in the guitar was reamed out large enough for me to mount the jack to the plate. The pots are mounted to both the guitar and plate.
2. Previous headstock repair failing
Here was another repair session. Jon was having issues with tuning and noticed that a headstock repair was starting to let go. The previous repair was done about 10 years or so. I used heat and steam to undo the repair so the old glue could be cleaned out. Once cleaned, hot hide glue was clamped in the joint as it looked like it would close nice and tight.

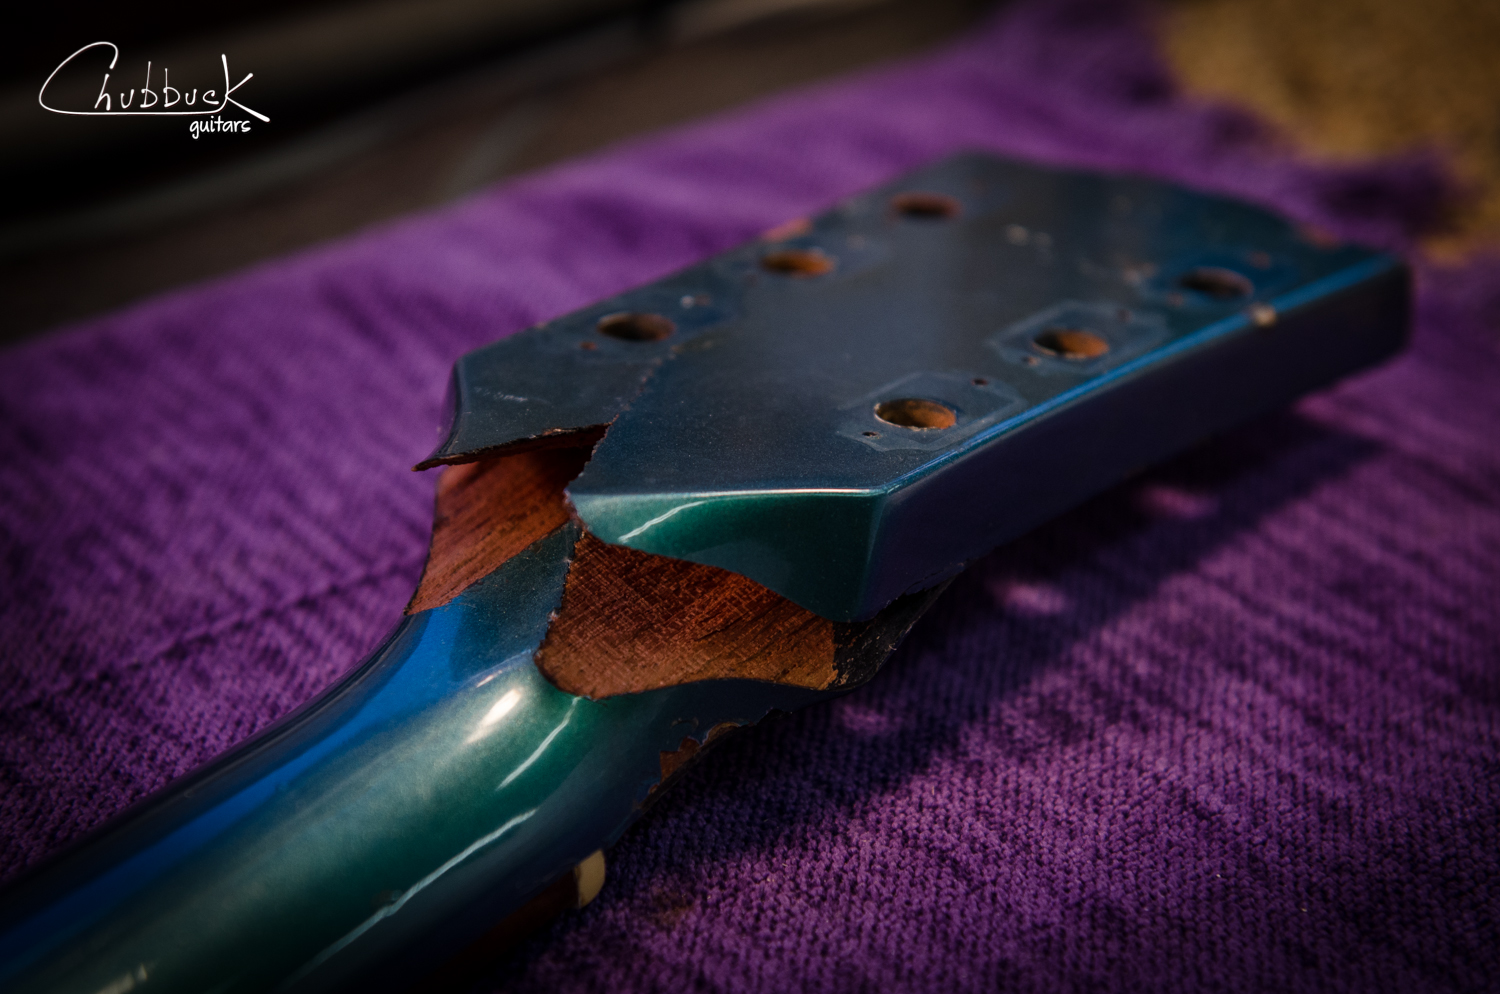
Here you can see that the previous headstock repair has started to fail. My guess is that either the joint wasn't sufficiently cleaned / glued / clamped or that the glue used had creeped with heat (the guitar could have been left in a hot car and cause the glue to soften).

The break was only partially open. I needed to apply heat and steam to re-break the headstock. An ifrared heat lamp bulb was used for dry heat and in the background is my neck-reseting pressure pot rig that I used to apply hot steam to the joint.
It took roughly 30 minutes of patiently steaming, heating and hand pressure to finally work the joint open. I cleaned out the old glue with more steam and aligned any mahogany fibers that didn't mesh in the joint.

With the open break still wet from the steaming, I applied hot hide glue into the joint and clamped it shut.
3. Busted strap button
Yet another repair, now it is in for a broken strap button screw. Actually, two broken screws as one was broken before. I'll need to make a couple different size screw extractors to get these out.
Two broken strap button screws to dig out before installing a new one.
I needed to fabricate a couple custom screw extractors to cleanly remove the two screws.
The extractors are made from stainless steel tubing sized to fit over the screw with teeth cut into the end. I sourced the tubing from McMaster-Carr.
The extractors are run counterclockwise in a drill to not risk driving the screw deeper if it grabs.
I used a plug cutter to fill the holes and then drilled a pilot hole for the new strap button.
4. And then my headstock re-repair was failing ...
This time the guitar took a spill at a practice and broke apart the repair. I suspected there was some kind of contamination in the joint so I cleaned it out as best I could and used West Systems Epoxy this time. Epoxy is great for it's strength and gap filling, but it can be very messy, especially on a nitrocellulose finish. Acetone cleans up epoxy squeeze out but also dissolves lacquer. I carefully masked off as much of the finish around the cracks to make the clean up easier. After pulling the clamps, cauls and tape, I lightly sanded and buffed out the area. Hopefully the third time's a charm ...
Third time's a charm (hopefully) on this battered headstock.
5 patina on this custom brass plate gets better and better every time it stop by the shop. I really love this look.
5. Pickup gets knocked the fuck out!
The bridge pickup literally got knocked the fuck out. This time it came in just before a New Year's Eve gig. Jon was a little frustrated and punched in the bridge pickup at a show! He popped it so hard that he broke 4 strings and bent the pickup's mounting tab. Even the height adjustment screw got stripped out.
The bridge pickup looks like it's sinking and taking on water...
I flipped the pick guard over to find the pickup's mounting tab to be mangled. The screw was stripped out so I straightened out the tab, re-tapped the threads and threw a new mounting screw in there. Back in business for New Year's.
Boom! Check out the carnage underneath the pick guard.
6. Go checkout Tigerman WOAH!!!
![Tigerman WOAH, Hodgepodge Music Festival, Lynn Woods Amphitheater, Lynn, MA [2014.06.28]. Photo by Kevin Chubbuck.](https://images.squarespace-cdn.com/content/v1/53dfcee2e4b0c0da377c65c7/1408111595526-0Y4XCZ6985ZG1BDMIBNP/tigerman_sg_13.jpg)
Tigerman WOAH, Hodgepodge Music Festival, Lynn Woods Amphitheater, Lynn, MA [2014.06.28]. Photo by Kevin Chubbuck.
Make sure you check out their albums over at Tigerman WOAH's Bandcamp page. Their latest release, Volume III is available on their website.