

Here by far is the nastiest neck break to come across my bench to date. It is a 1965 Epiphone Olympic. The neck is cleanly broken free of the body and then some. This came into the shop in three pieces (body, neck, headstock) with a few loose / missing pieces to boot. The back story is that this player was at a rehearsal where he backed up and tripped over some gear. On the way down he caught his head on a counter top and was knocked out cold just before he and the guitar hit the ground. Ouch!

The plan of attack is to start at the body of the guitar and work towards the head (save the best for last). First the guitar needs to be stripped of all parts before the neck repairs can begin.
Overview:
- Strip off hardware
- Rebuild neck pocket
- Glue neck to body
- Glue headstock to neck
- Prep for finish
- Spray / rub / buff out finish repairs
- Reinstall hardware and set up
: : : : : :

There was a separate chunk of the body that had to be re-glued first before gluing the neck back in. The spring clamp is holding the loose section while the C clamp locates the piece against the edge of the neck pocket.

Here the neck is being glued in with epoxy. I used epoxy as there were some missing pieces and epoxy has great gap-filling properties. Plus it should not sink when it comes time to buff out the finish repairs.

Note the saw cut in the main clamping caul over the body. I needed to put extra pressure on the bass side of the neck at the body joint to close that area. The saw cut allows that portion of the caul to flex independently of the rest of the caul. You can do this with two seperate cauls, but this simplified my clamping setup.

Now that the body and neck are glued up, time to move onto the headstock. Here you can see how nasty this break is.
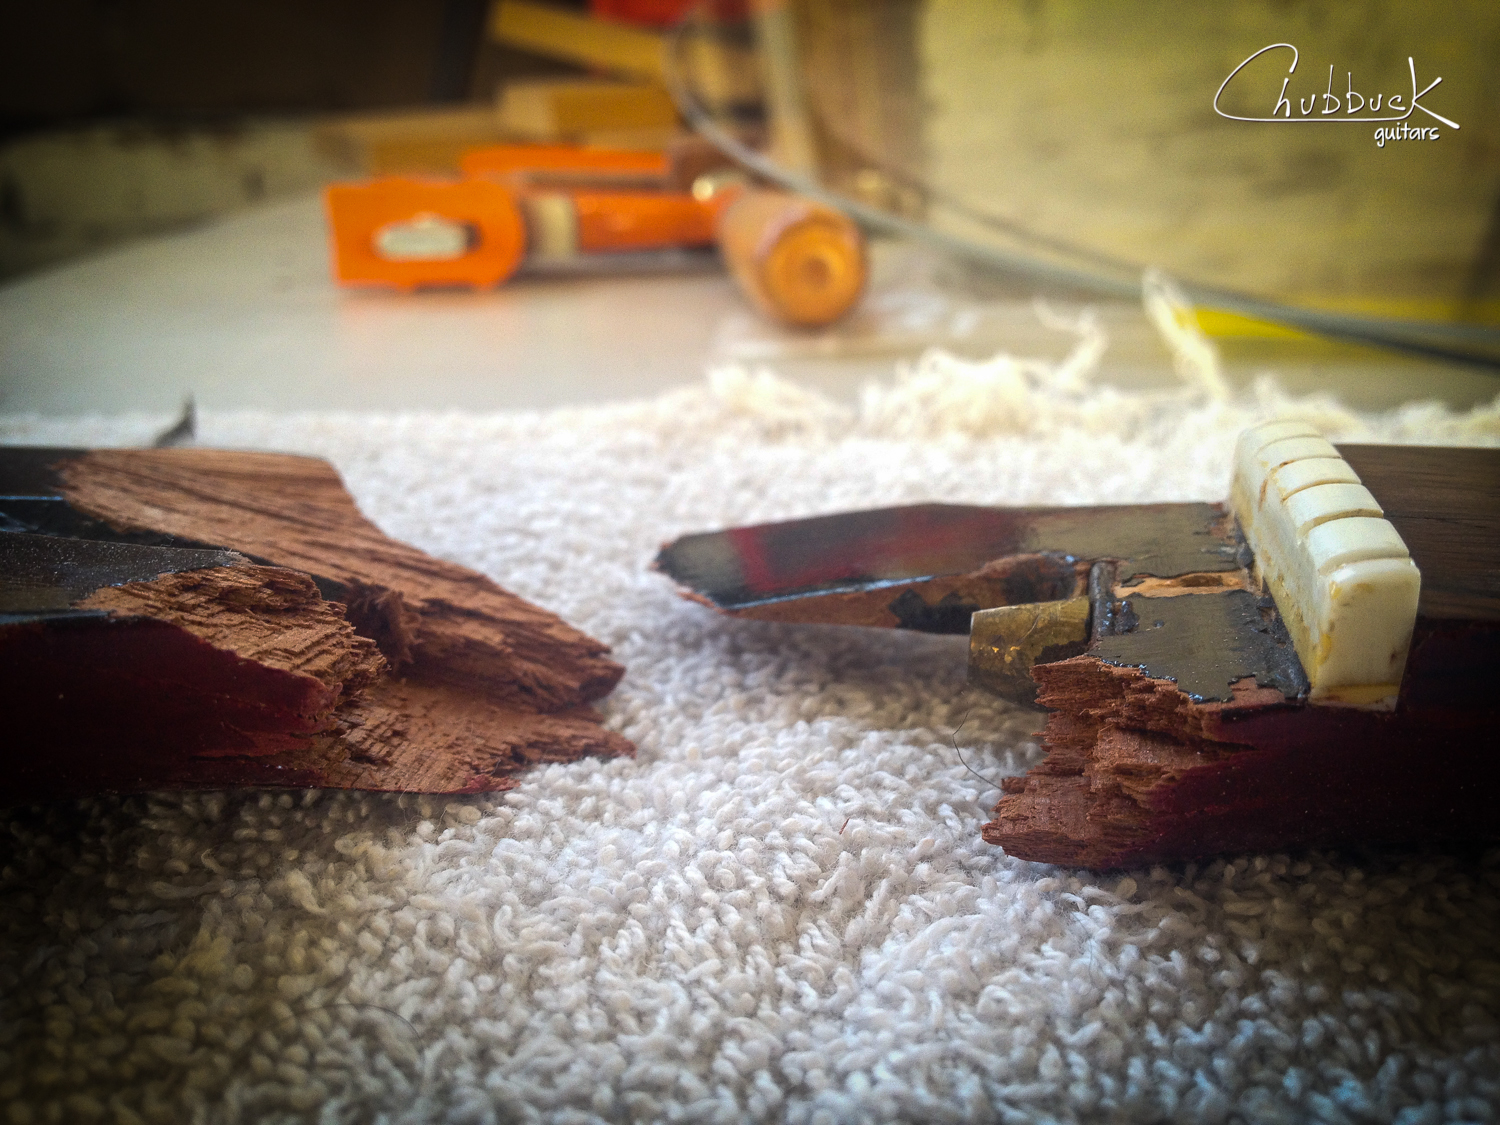
This is a compound break where the bass side is a short break and the treble side is a long break. The long break on the treble side will make aligning this joint much, much easier. Short breaks are the worst-case scenario as you have minimal gluing surface.
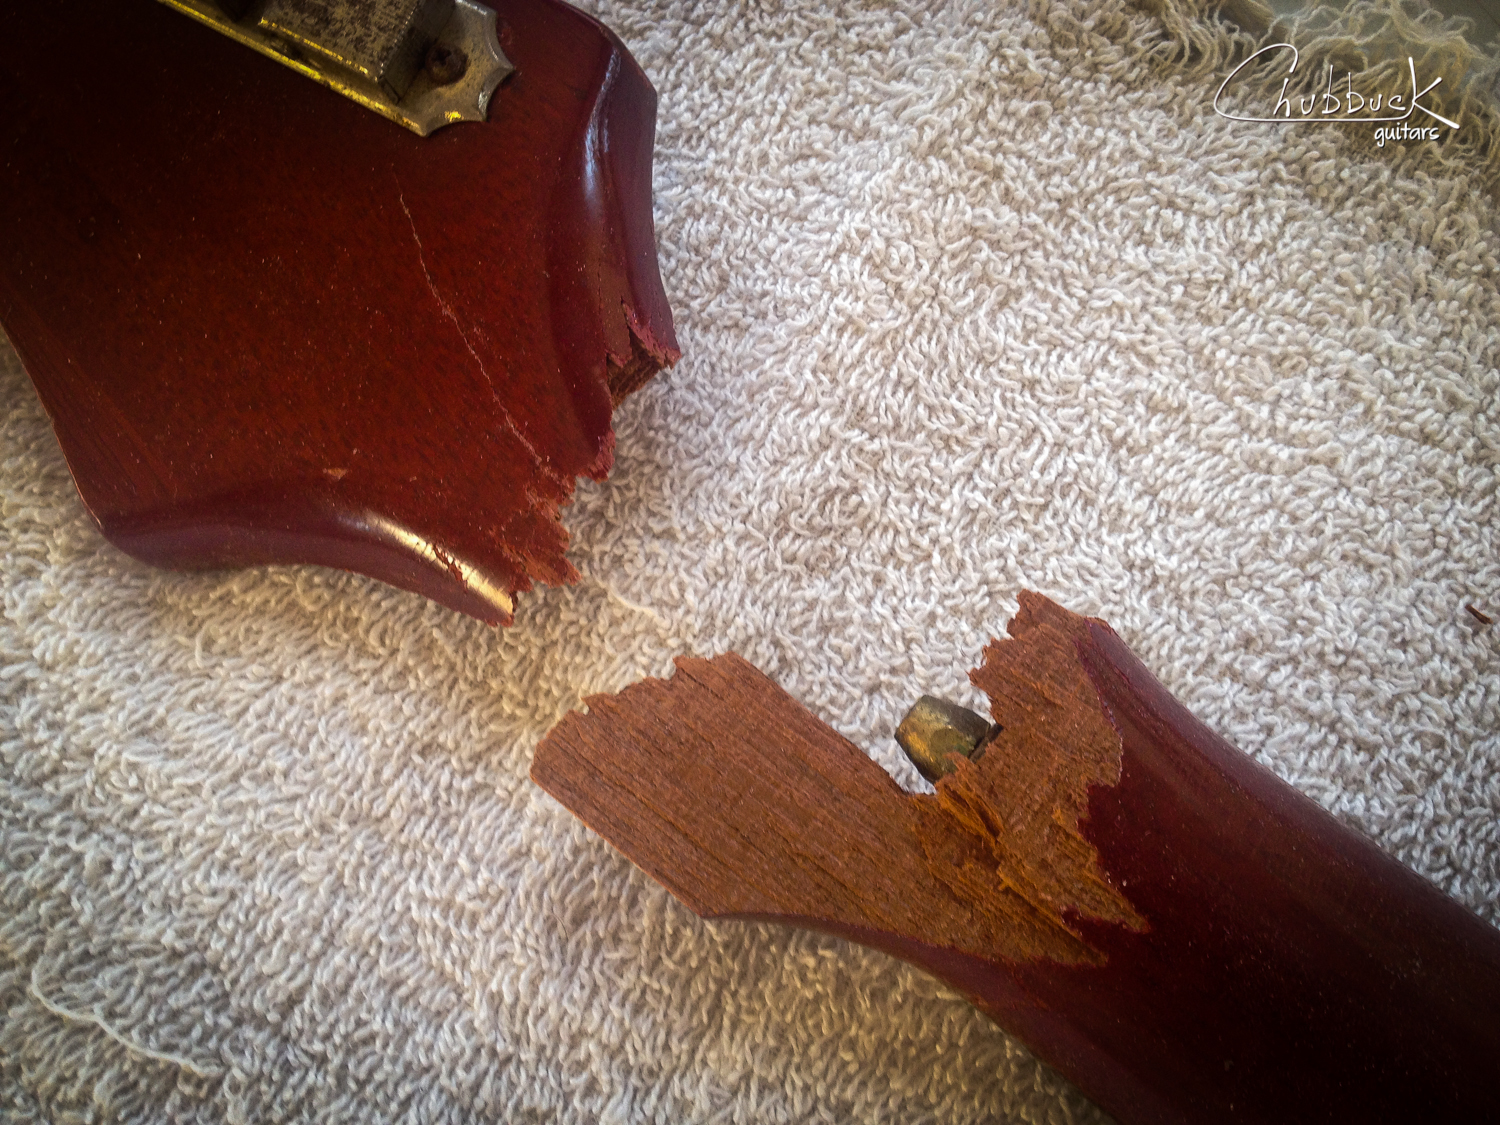
And here is the back of the head break. Note the long split running up the rear of the headstock - that is going to need to be glued as well.

I am also going to use epoxy to glue up the headstock break. Epoxy at room temperature is rather thick and I need it to be able to flow it into some tight spots. Here I'm using a hot water bath to heat the resin and catalyst separately. Once it's viscosity is where I want it, I will mix the two components. I also add a little cherry color to the epoxy to match the finish. Another trick others use to thin out epoxy is to microwave it but you have to be careful because you can set off the reaction if you heat it too long.

While the epoxy warms in the hot water bath, I decided to shrink wrap the truss rod threads to protect them from the epoxy. A little prevention up front will save you extra clean up later.

The clamping rig is assembled and I made a couple cauls for the top and rear. Both cauls use LDPE plastic to keep the epoxy from sticking to them. The top one uses MDF for rigidity and to keep the face flat. The rear is just plastic with a piece of cork glued on the tail to distribute the clamping pressure over the head-to-neck transition. The dead-blow hammer will be used to help tap the short break closed and the acetone is used to clean up the epoxy squeeze-out. Note the two extra headstock pieces on the fingerboard that need to be fit before clamping up everything.

Once in three pieces, the guitar is now whole again. But there are a slew of missing pieces in both the head and heel breaks that need to be addressed before prepping for the spray booth.

Larger batches of epoxy generate quite a bit of heat when curing. So much in fact that it distorted the baby food container. In the background you can see that the break transition has been filled and the transition smoothed.

The headstock is glued up and getting ready for the spray booth repairs. Here I will be blacking out the break to match the rest of the headstock.

Fresh out of the booth with the repairs blacked out. I had to be careful to not get overspray near the silkscreened "Epiphone" logo. This logo is proud of the surrounding finish so any sanding or buffing would risk burning through.

Now to the rear of the neck. I tried to take the curse off of the breaks by shading the area without going totally opaque. In bright light you can see the repairs, but in normal lighting conditions it looks like a burst.

Both ends of the neck were tinted to help hide the breaks.

Here the finish repairs are buffed out and guitar all strung up. You can see that I had to extend the finish shading on the bass side of the neck joint to hide the blown-out neck pocket.

The Seymour Duncan single coil-sized humbuckers were custom mounted as their holes do not line up with the original pickup mounts on the pick guard. I used the original bass side holes and had to add mounting tabs to the treble sides. The blade pole pieces help distribute the pickups' magnetic field to account for the offset. A TonePros AVT-II wraparound bridge was installed to greatly improve the intonation. The original bridge has fixed saddles with a G set for a wound string.

The face of the headstock was buffed out but I wanted to leave some imperfections to match the rest of the headstock. It would look odd for a 49 year old guitar to have a half-perfect black gloss finish on a portion of the headstock.

And here is the rear view of the guitar with it's neck repairs. Look at the flame in the mahogany body!
I am really pleased with how this repair came out. It took me a few days of staring it down to come up with a game plan. Initially I thought thought the head break was going to require the sometimes popular use of splines installed through the head break (channels routed through the break and wood keys inlaid). I never liked the look of splined headstock repairs and question how much (if any) strength they add. After talking with a good friend and fellow repairman Chris at Black Cat Guitar, he confirmed that he has glued similar repairs without the use of splines with excellent results (thank you Chris!).
Most neck breaks that come across my bench are either from a guitar not properly stored on a stand or coming free from a strap. This was the first time neither was a factor as the player fell to the ground as well.