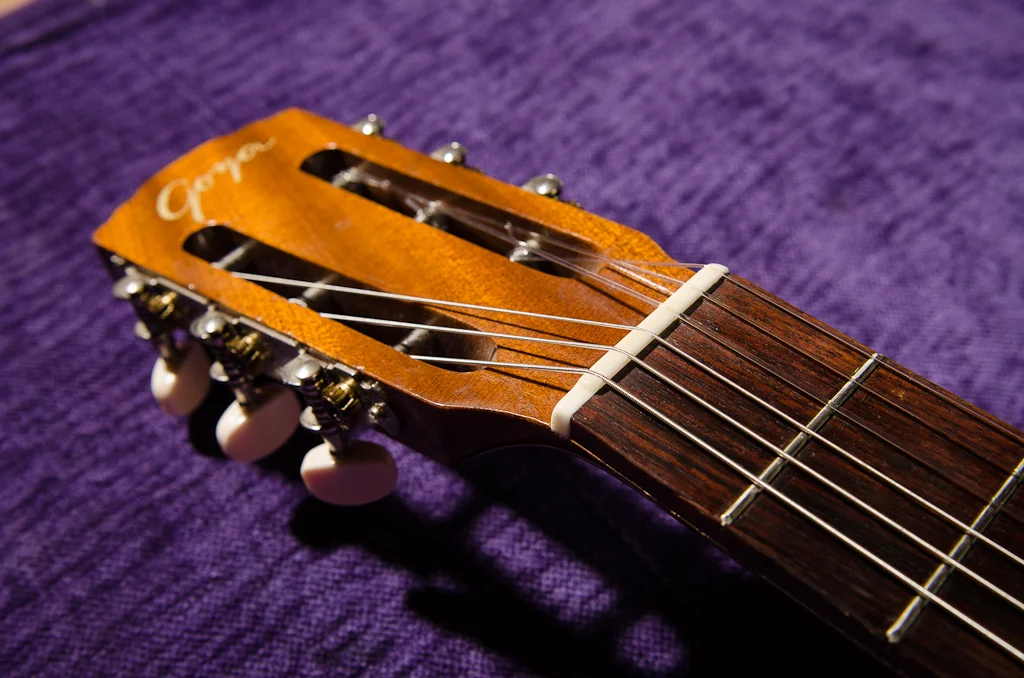

Vintage Goya classical made in Sweeden
This post is going to be a little different from my previous ones. I'm going for more of a photo-essay approach here.
More photos. Less words.
Simpler is better, right? Please let me know if you like this style better in the comments below.
: : : : : :
And here we go!
A good customer of mine brought in one of his student's guitars on his last visit to the shop. The student was having difficulties fretting her vintage Goya classical guitar as she has smaller hands. Most classical necks clock in at 2 inches at the nut, which is much wider than most modern steel string fingerstyle guitars. 1 - 3/4" to 1 - 13/16" nut widths are common in the steel string world.
I know.
I know that this is not a steel string guitar.
Classical guitars are different from steel string guitars. I'm right there with you - if you want something that plays more like a steel string, then get a steel string. But this player loves her guitar and did not want another guitar. She just wanted her guitar easier to play. Making an instrument mesh with a player's style is the ultimate goal of every guitar that comes across my bench.
So we want to make this guitar easier for her smaller hands to accommodate. We decided to go with a new nut laid out with spacing found on a 1 - 3/4" neck. I thought about it and realized that just merely shrinking the strings in on-center would space the high e string in way too far in from the edge of the board.
What if we just left the high e string where it was and squeezed the rest of the strings in towards it?
This would be different, let's see if it works ...

Standard wide classical nut spacing
First I noticed that the bridge glue joint was failing, so I addressed that before making a new nut.

Post-it® slips in to reveal a failing glue joint
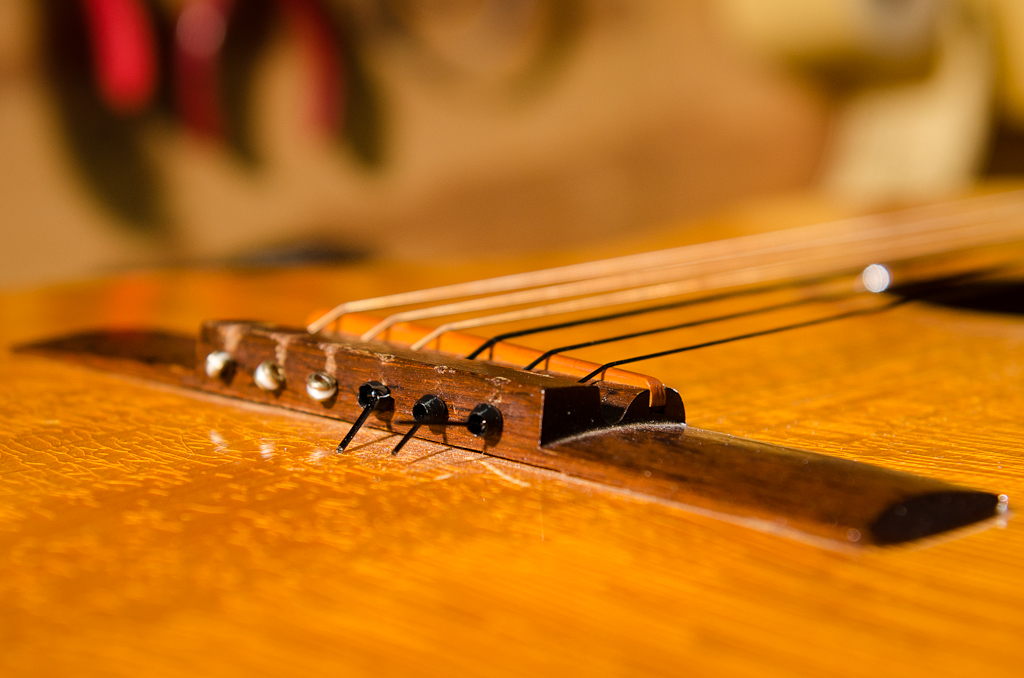
Visible gap at the rear of the bridge

Locating holes drilled into the saddle slot prior to removing the bridge. This makes sure you reglue it back in the same position

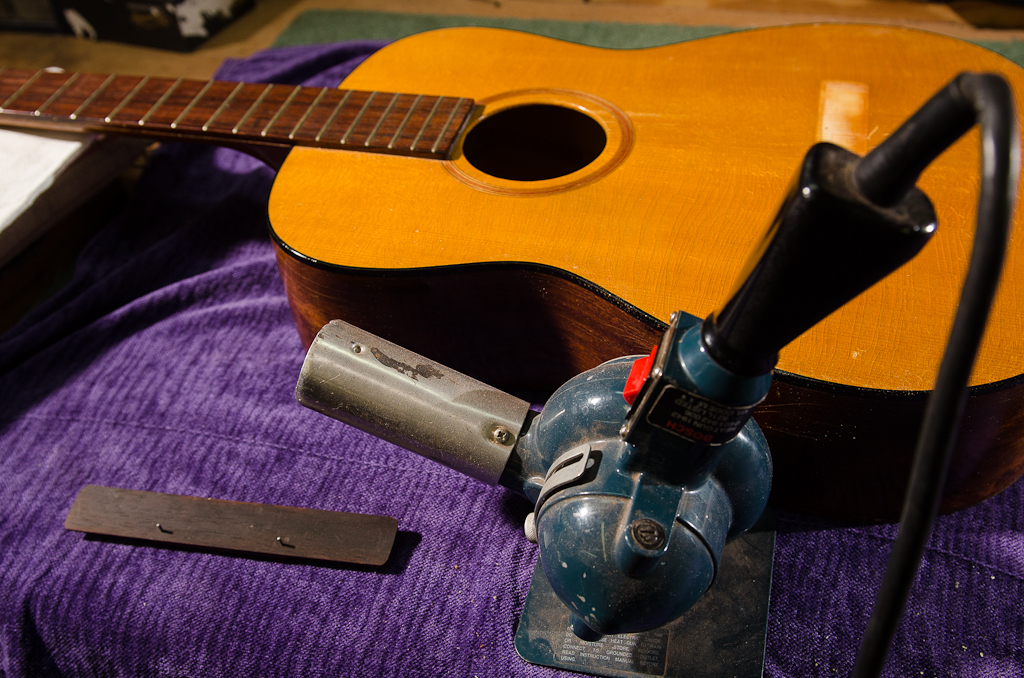
Infrared heat lamp to release the remaining glue bond

Modified pallet knife to shear softened glue
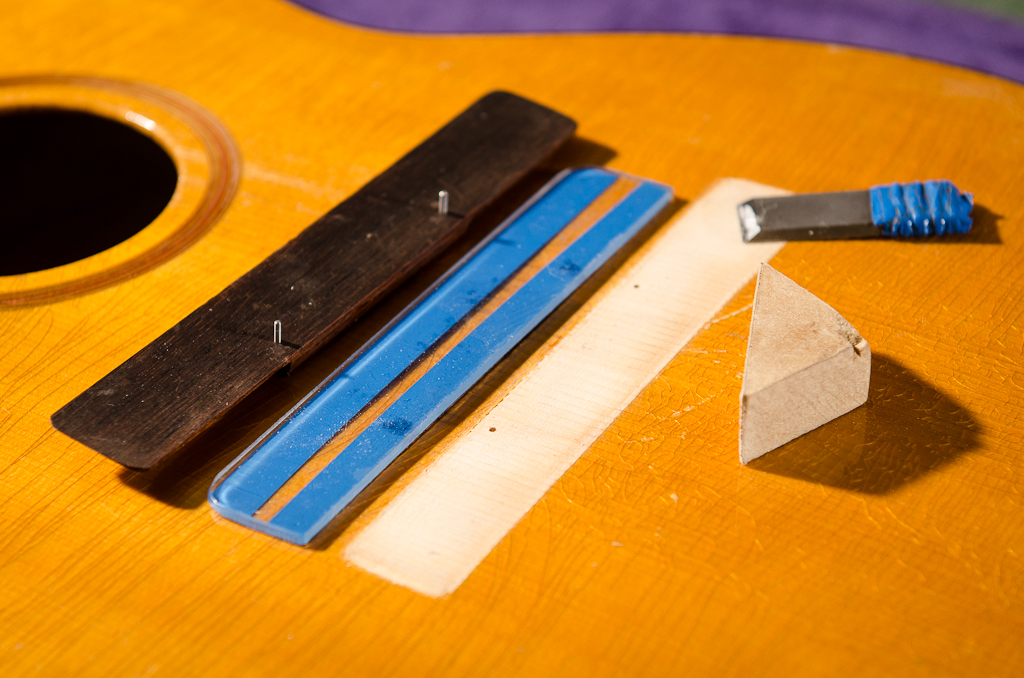
Preparing for reglue: (left to right) bridge with locating pins, scraping/sanding safety guide, scraper and sanding block

Thinned hot hide glue brushed on bridge footprint to seize the grain. This prevents the top from sucking the joint dry when the bridge is glued
Heat gun is used to warm up the bridge and soundboard footprint to extend hot hide glue working time

Vacuum frame removes the air around the bridge to allow the weight of the atmosphere to clamp the bridge down

Bridge is clamped while the timer clicks away … let’s work on the nut

Old nut removed and the slot is cleaned and trued before fitting the new bone nut

A pencil flattened on-axis projects the plane of the frets onto the new nut, along with marking the edges to be trimmed
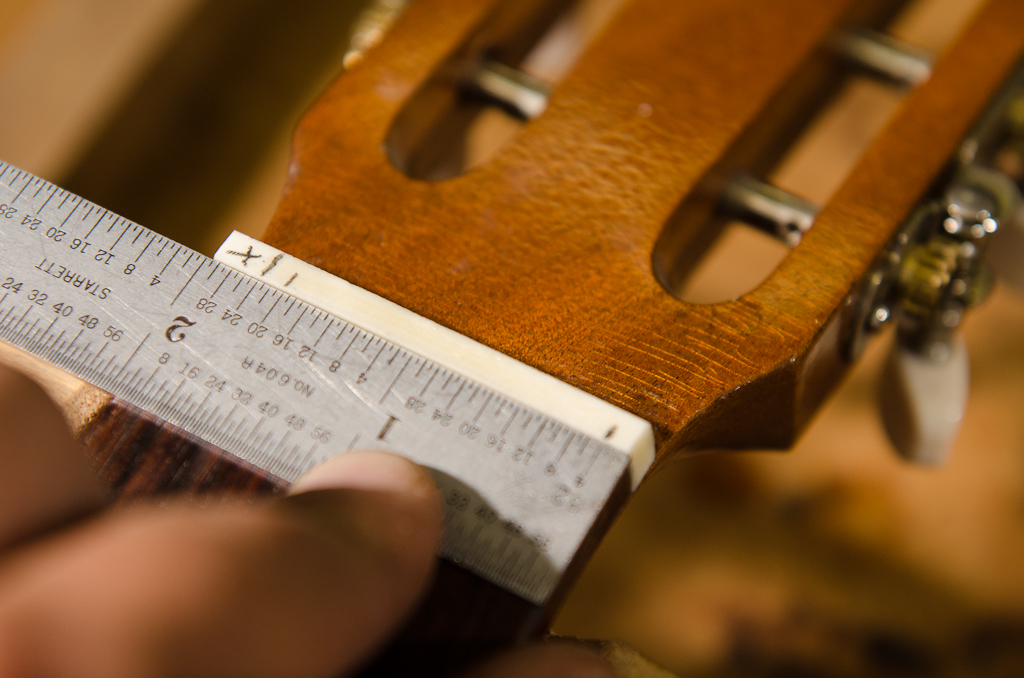
Converting a 2″ wide nut into a 1- 3/4″ nut to decrease string spacing

New nut with tighter spacing and biased to the treble side

Non-destructively narrowing the feel of a wide neck

New bone nut with 1 – 3/4″ string spacing on a 2″ neck

Love that finish checking on older guitars. Also working on my classical tie-jobs
Pretty wild, right? I think this is an elegant solution to the problem. Just as long as the student doesn't fret any chords with her thumb.